Crafting a Small Leather Bag
How to source materials, create patterns, and start sewing!

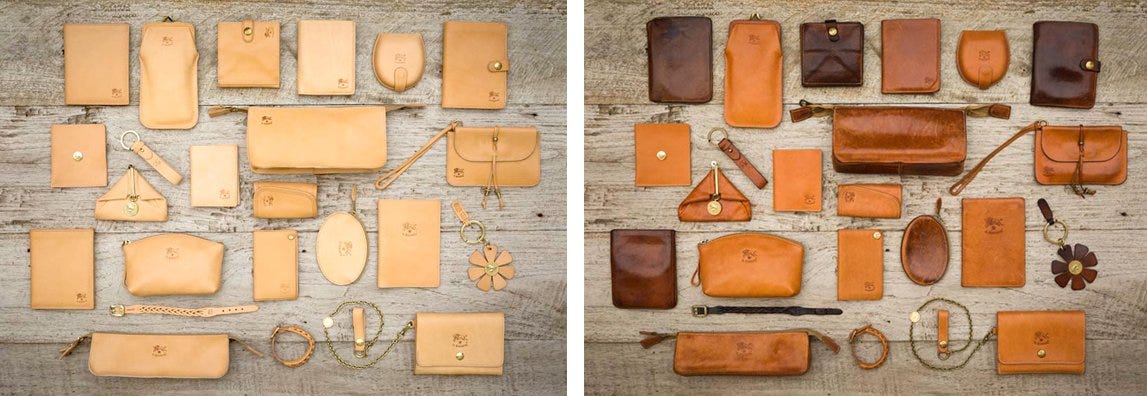
Over Covid, I decided to learn how to make leather bags. I loved the process, and ended up making a whole collection. A few friends asked for more details, so I put together this guide that compiles enough information to make the bag below:
Why leather?
I fell in love with an Il Bisonte bag that Sam gifted to me, and the simplicity encouraged me to try to make my own.
I wanted to make something with my hands in my apartment, and didn’t have space for power tools.
Sourcing Tools
I bought a starter kit ($40) from Amazon. Most of the tools in this set were useless, but the tools that I did use are:
Edge maker tool: To mark out the stitch lines at a fixed border from the edge
Hole punch tool and snaps: To make items that can snap shut
Wooden tool: To polish the leather edges
Rubber cutting board
These are the other required materials:
Punching iron: To punch holes in the leather for stitching. I found the 3mm punching irons to be the perfect size for small leather goods. (Link, $12)
Tokonole burnishing gum: To turn raw edges into glossy sides (Link, $10)
Leather thread (Link, $6)
Leather sewing needles (Link, $3)
X-Acto no 1 precision knife
Hammer with rubber head
Metal ruler (non-wood)
That’s all!
There are fancier versions of most tools that are more precise and well-designed. As I continue making leather items, I want to explore GoodsJapan ($$) and Sinabroks ($$$).
Sourcing Hardware
I think that beautiful leather deserves sturdy brass hardware. My go-to source for solid brass hardware is Buckleguy. They care about providing high quality products in the small quantities that hobbyists require. I’ve placed several orders and they always have the standard parts I’m looking for.
Sourcing Leather
Il Bisonte’s natural cowhide leather is buttery, pliable and has a subtle sweet scent that lasts for years. The bags develop a beautiful patina, transitioning from light beige to dark tan with use:
Unfortunately, most Tuscan tanneries do not sell directly to end hobbyists and many work exclusively with manufacturers. It took some sleuthing and a few bad purchases to find this special kind of patina-ing leather in the US.
I waded through leather forums, and ordered whole cow sides on tandyleather.com. Well, I wrangled with this leather, sweating with a wobbly pocket knife to get through the thick skin… to no avail. Turns out, most US-based distributors focus on tooling leather, which is stiff and rough to the touch.
The art of Tuscan tanning goes back to the Etruscan age, and involves using a proprietary combination of animal fats, vegetable tannins, and no chemicals. (Most leather is tanned with the chemical chromium, which weakens the leather.) Deciding to go to the source, I found the Consorzio Vera Pelle Italiana Conciata Al Vegetale (translation: The Genuine Italian Vegetable-Tanned Leather Consortium), which is the authority on which tanneries are following the best environmental practices and using high-quality production with traditional ingredients. Of their member tanneries, a few are purchase-able by hobbyists. Using this as a starting point, I bought two sides of Italpel Tucson in Natural from Euroleather which is the leather of my dreams!
I eventually found a dealer on Instagram, beltsproduction, who carries unique leather items from the Consortium and I ordered with him a few times, including La Perla Azzurra Missouri, Vachetta, and Dakota lines.
For smaller purchases, I would recommend these dealers in the US:
Rocky Mountain Leather Supply — Conceria Walpier Buttero 3 oz is what I used here, Badalassi Carlo is my favorite for making wallets
Steps
My two favorite leather working YouTube channels are Hahns Atelier (Twist Cone Bag) and Atelier Netraport (Medium Tote Bag). The steps below are an overview, and I would recommend watching the videos to see more details. Most videos come with printable patterns.
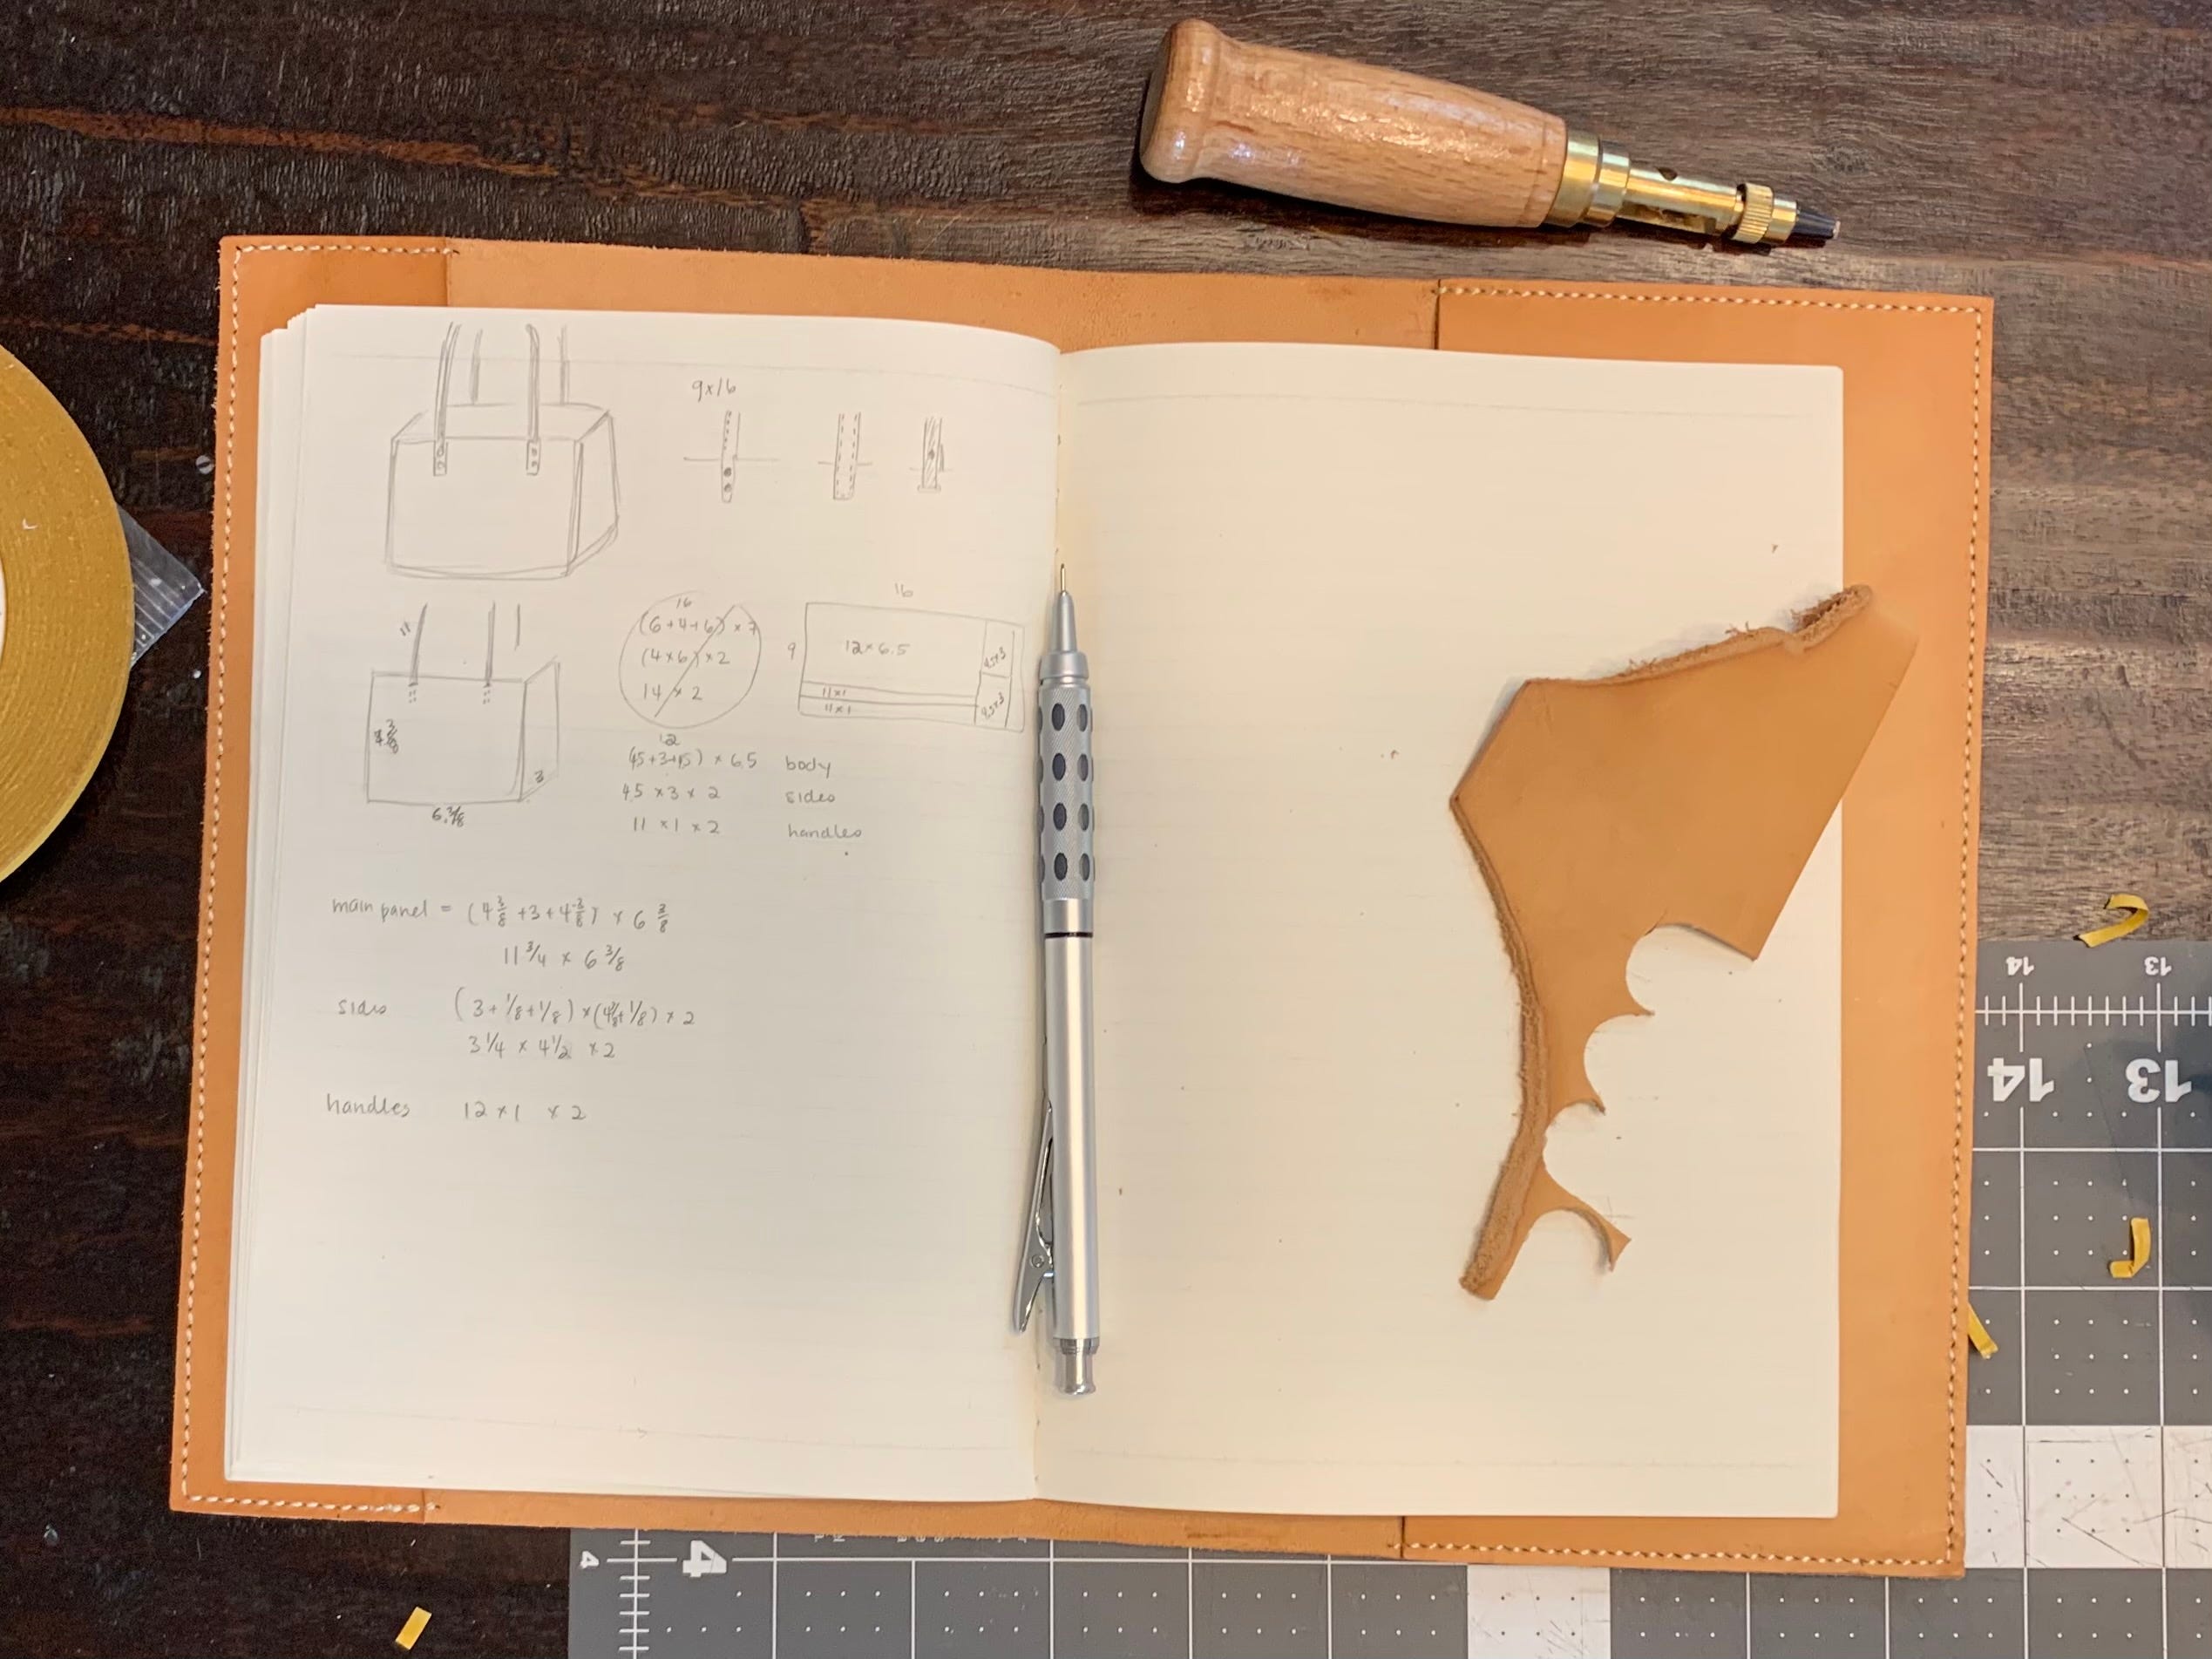
1. Create the patterns
I learned about how to make patterns from Youtube videos. Many are generous enough to share their patterns in the video description. Studying these designs made it much easier for me to understand how to attach handles, maneuver corners, decide spacing, and join sides.
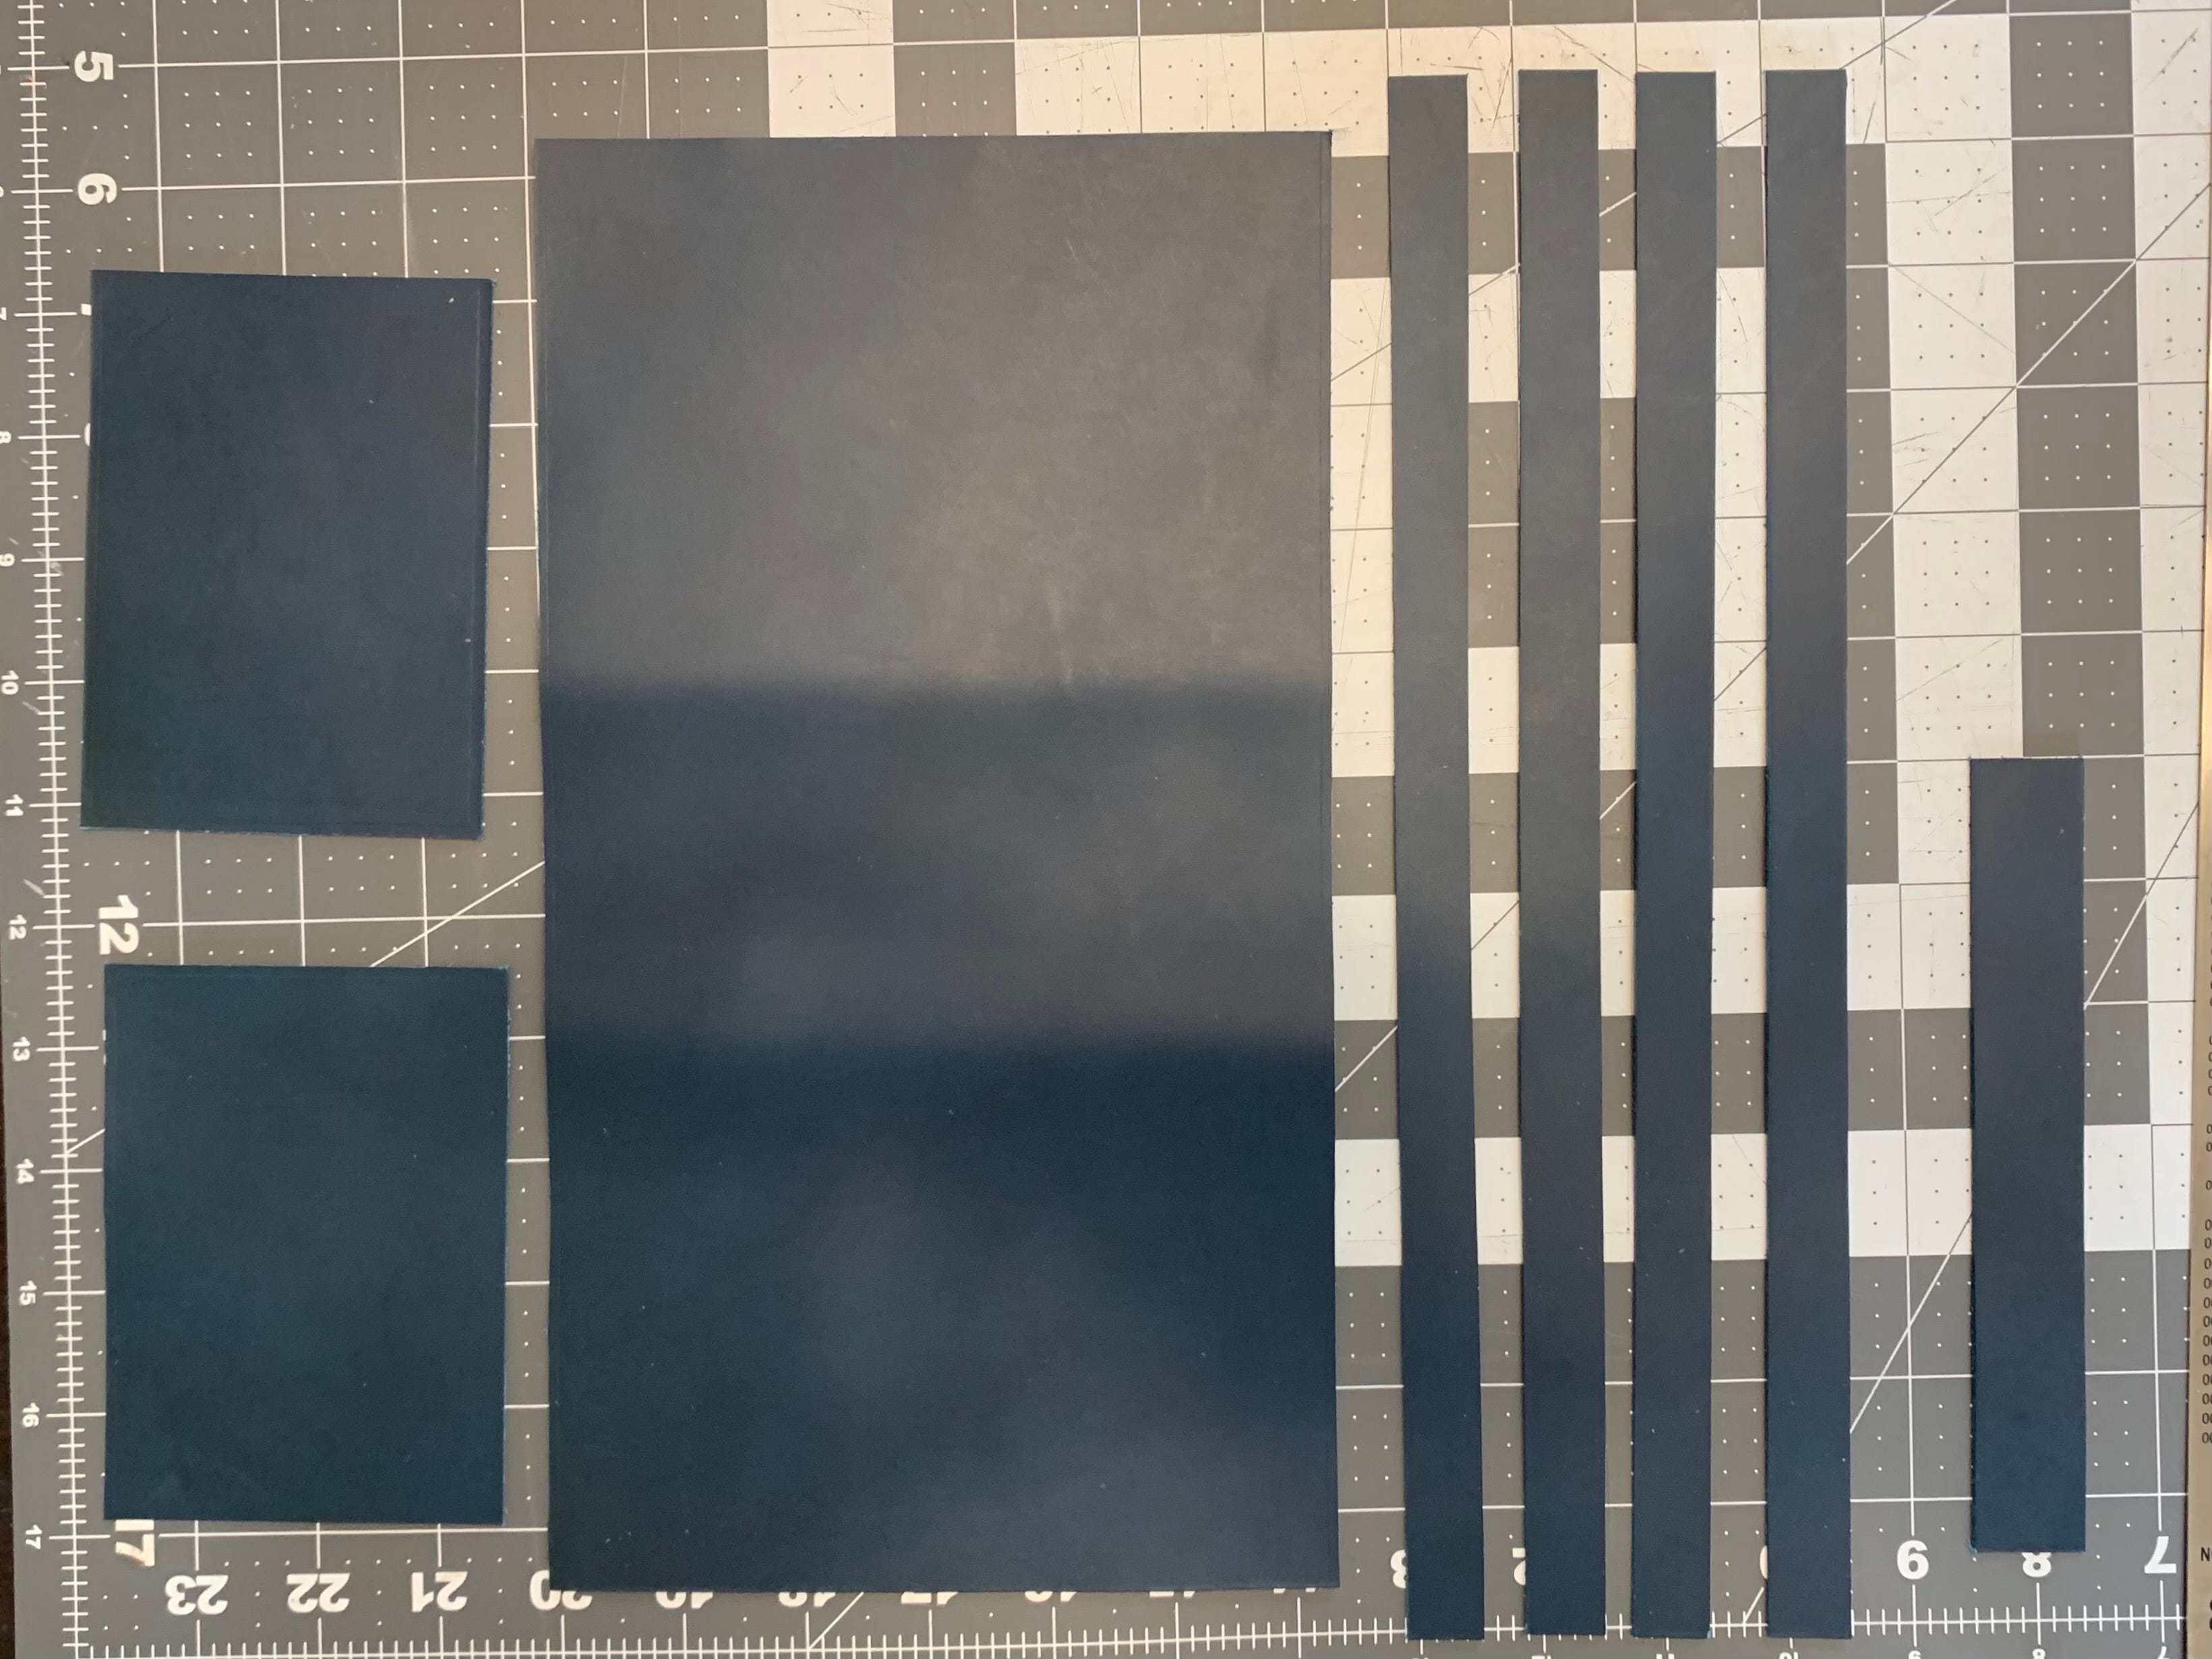
2. Cut the Leather
I would recommend drawing out the pattern on the flesh side of the leather, and cutting from the flesh side too. Cut carefully!
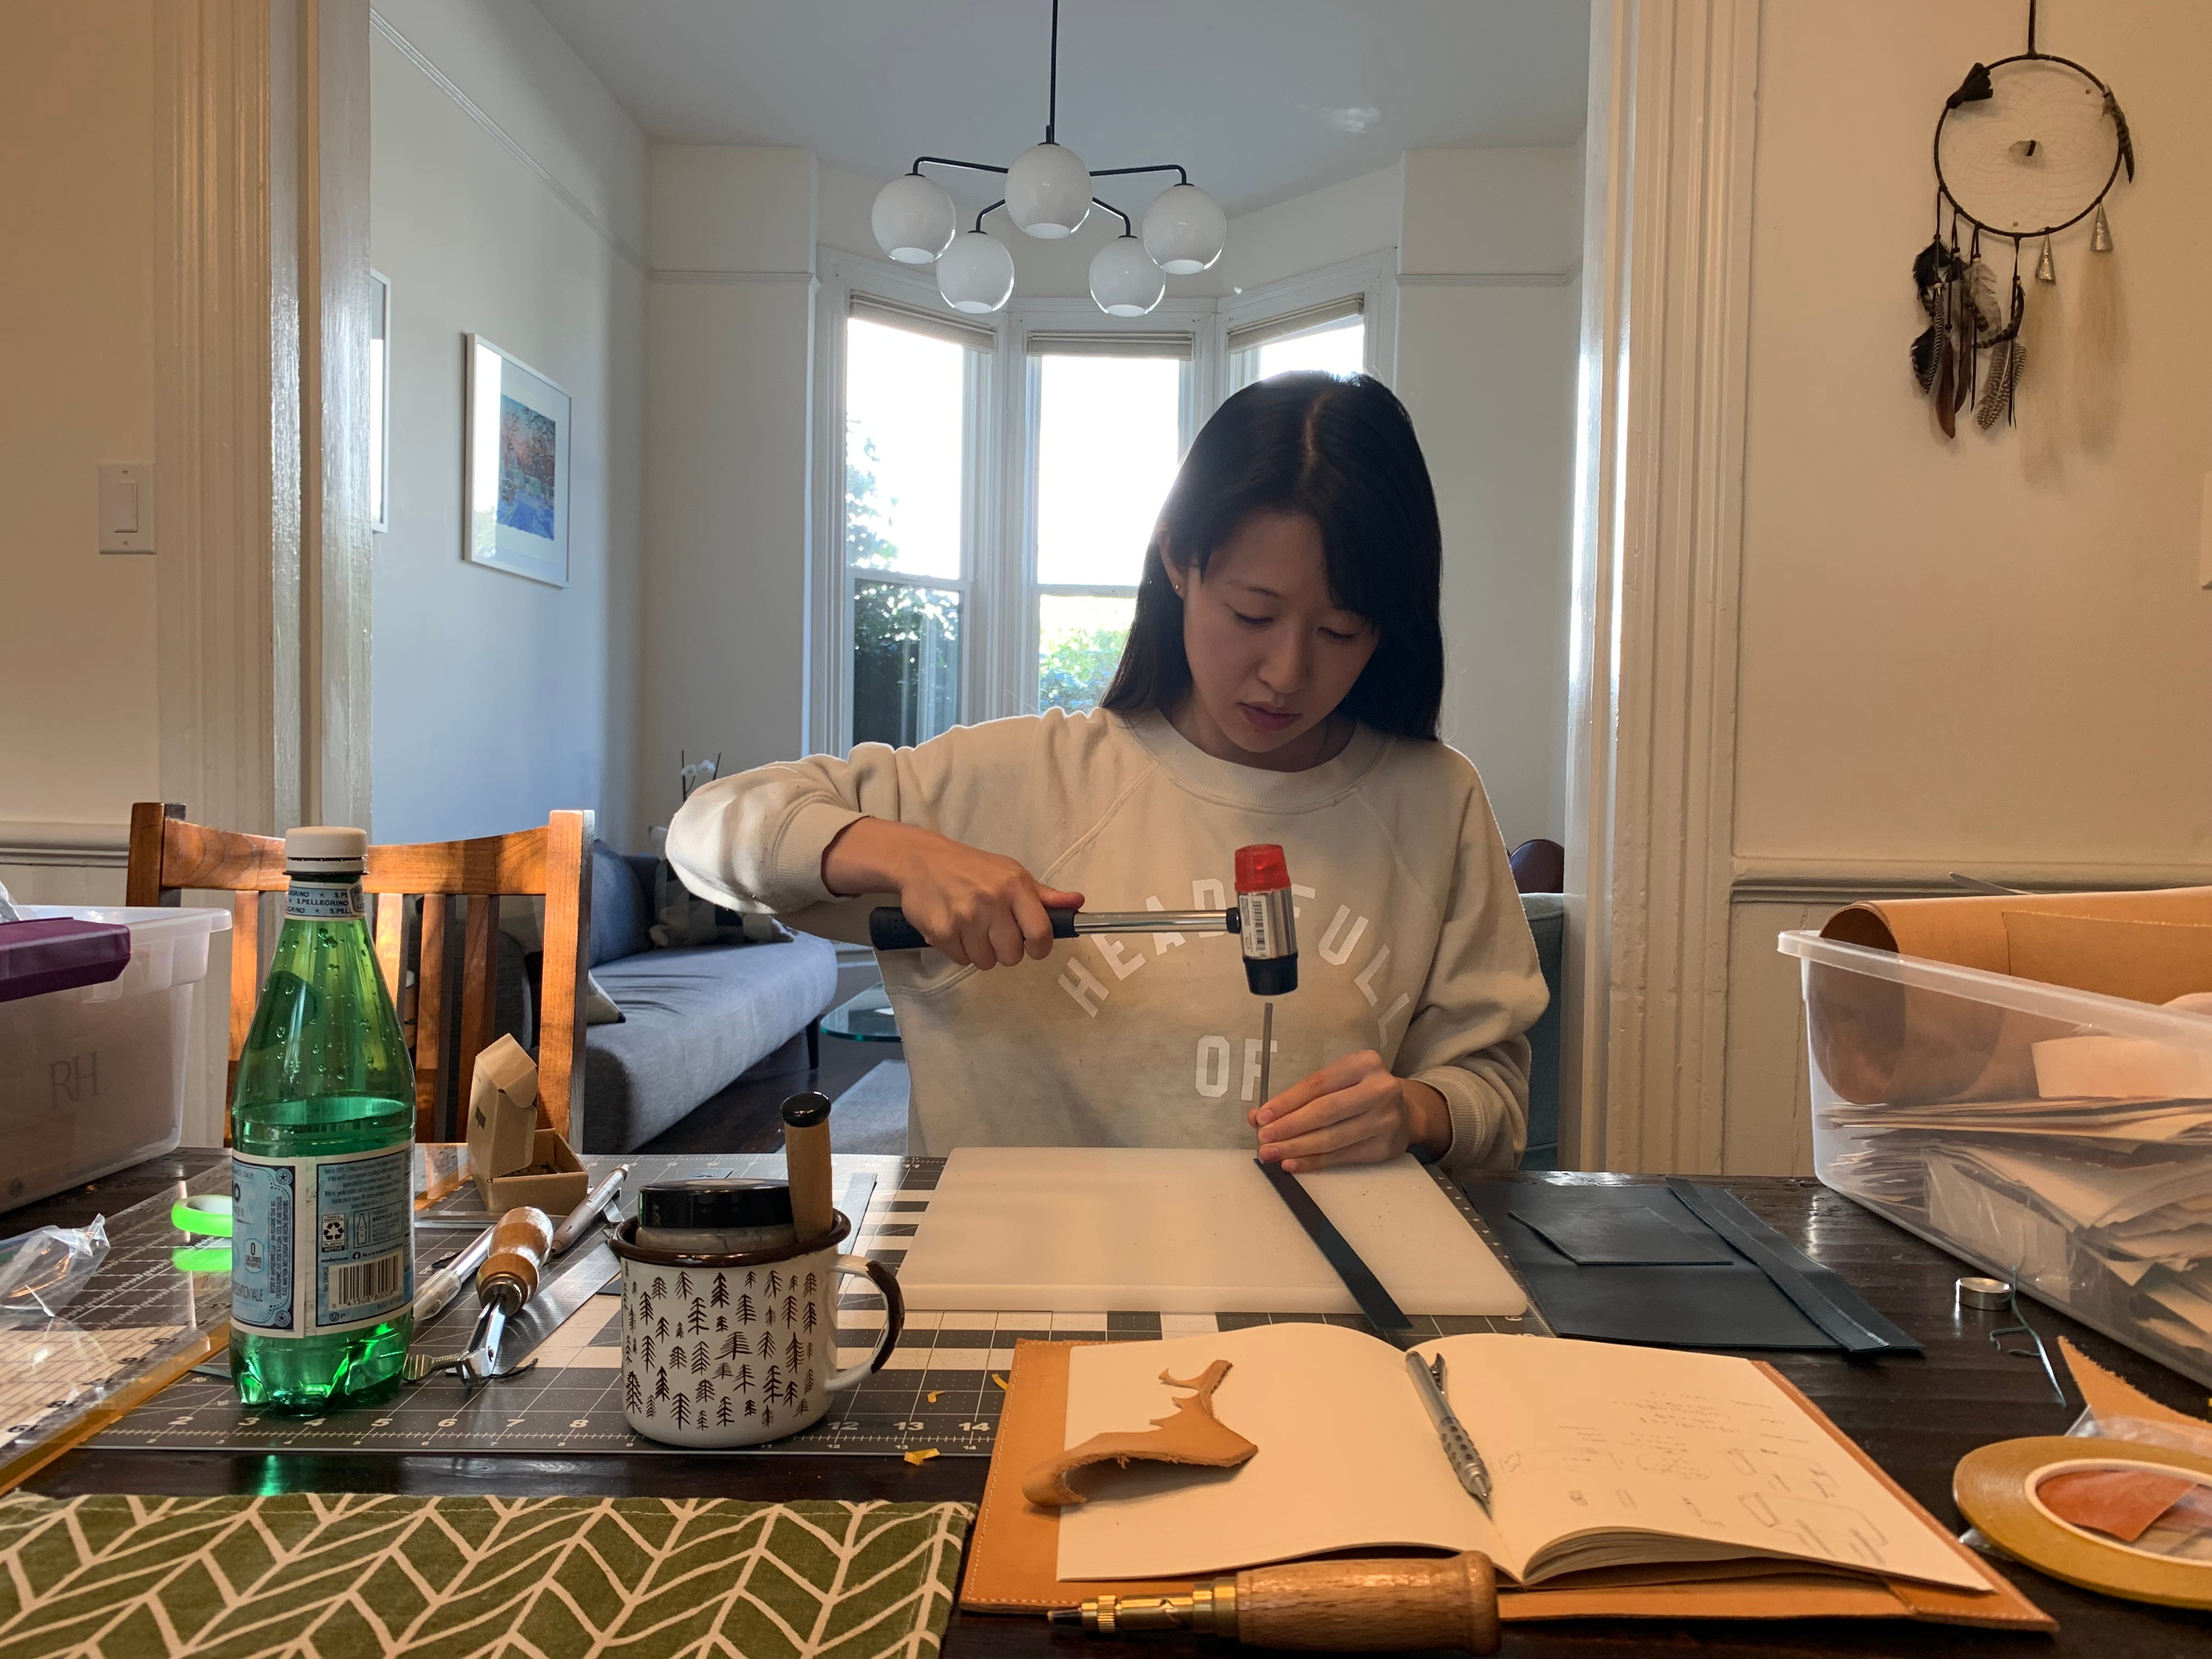
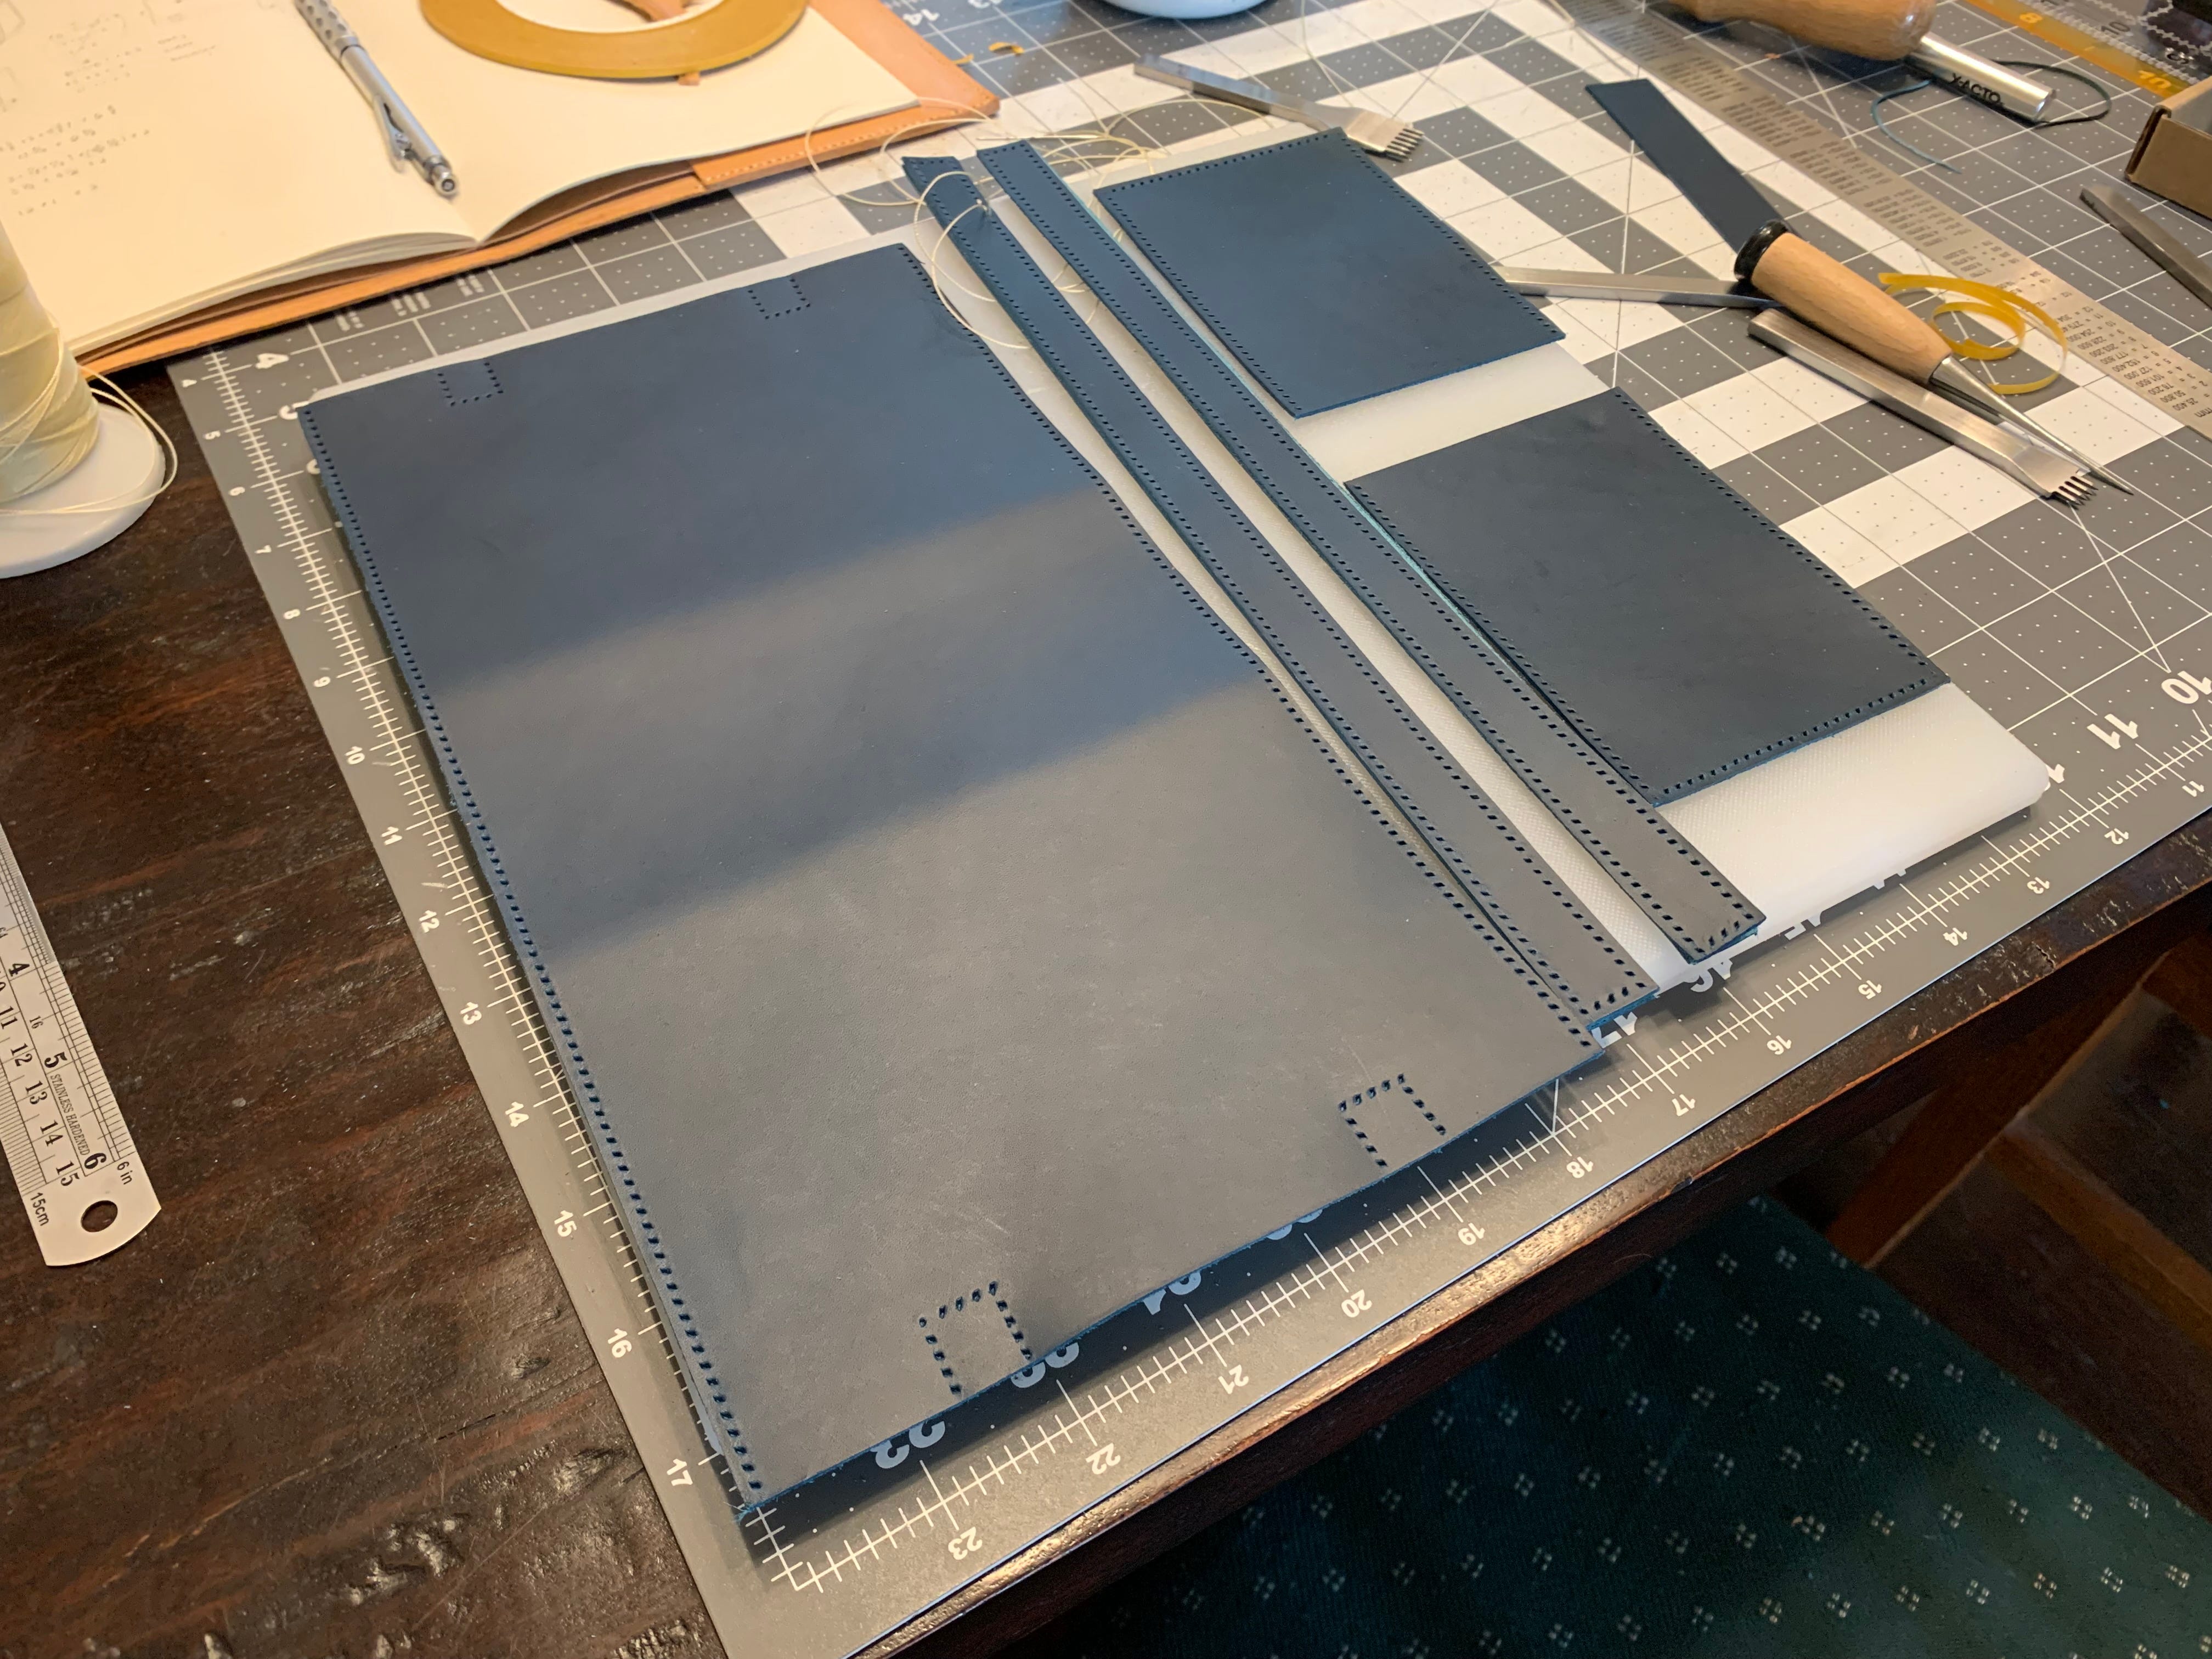
3. Punch the Holes
First, mark a border of 3mm with the edge marker tool.
Then, it’s time to make holes. It’s important to make sure that adjacent sides have the same number of holes so that the stitching goes smoothly. To do this, I often mark the holes for all pieces (by lightly pressing the punching iron onto the leather) before actually punching the holes. I would recommend punching all of the holes before stitching.
5. Stitch, stitch, stitch
This is the most time consuming part. This took about 3-4 hours. I’m not that passionate about making sure the stitching is perfect, so I like to listen to a podcast or lecture while I work. While making this bag, I listened to this crazy cool rapamycin story and about getting trapped in the Suez Canal for four years!


6. Burnish the edges
Last, we should burnish our edges to give the bag a polished feel. I just put the Tokonole onto the seams and rub with a cloth or wooden tool. I’m still learning how to do this part, so let me know if you have advice!

Final product
This purse fits my phone, sunglasses, wallet, face mask, and everything else I need during the day! I love it and it makes me happy every time I see it.